INFO 1300: JavaScript for Static Interactivity
Class 20: JavaScript for Static Interactivity
- Review: Planning Client-Side Interactivity
- Using JavaScript in a Web Page
- Enhance JavaScript with jQuery
- Using JavaScript + jQuery for Interactivity
Copyright 2026, Kyle J. Harms
Review: The 3 Browser Layers
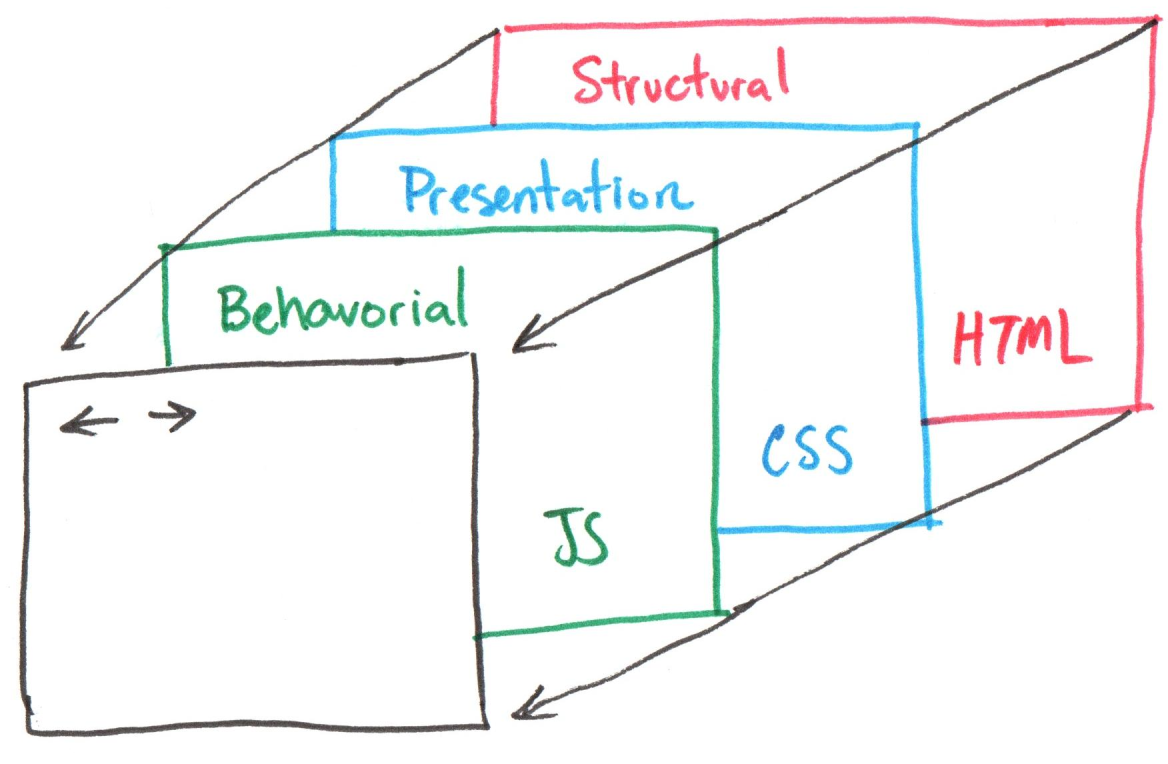
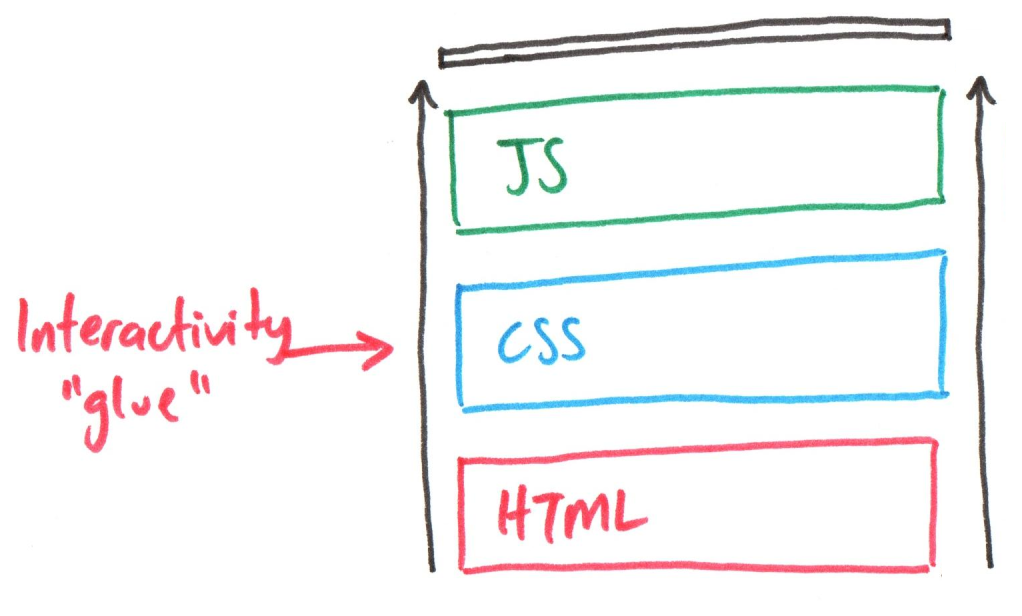
Review: Static Client-Side Interactivity
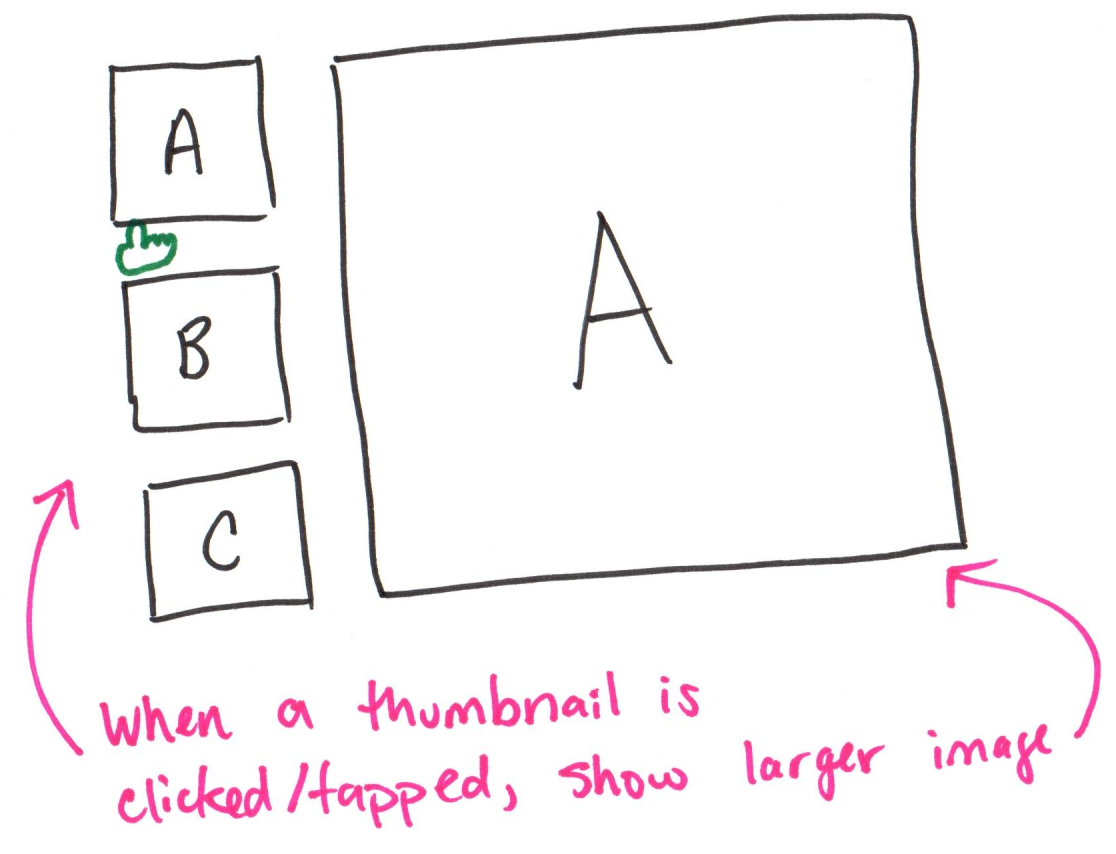
Review: Planning Static Interactivity
Phase I
- Plan, then code all interactivity and non-interactivity HTML + CSS.
- Plan, then code initial/default page state using only CSS classes.
Phase II
- Plan, then code listening for user events in JavaScript.
- Plan, then code responding to events by adding/removing CSS classes.
Review: Phase I – Planning
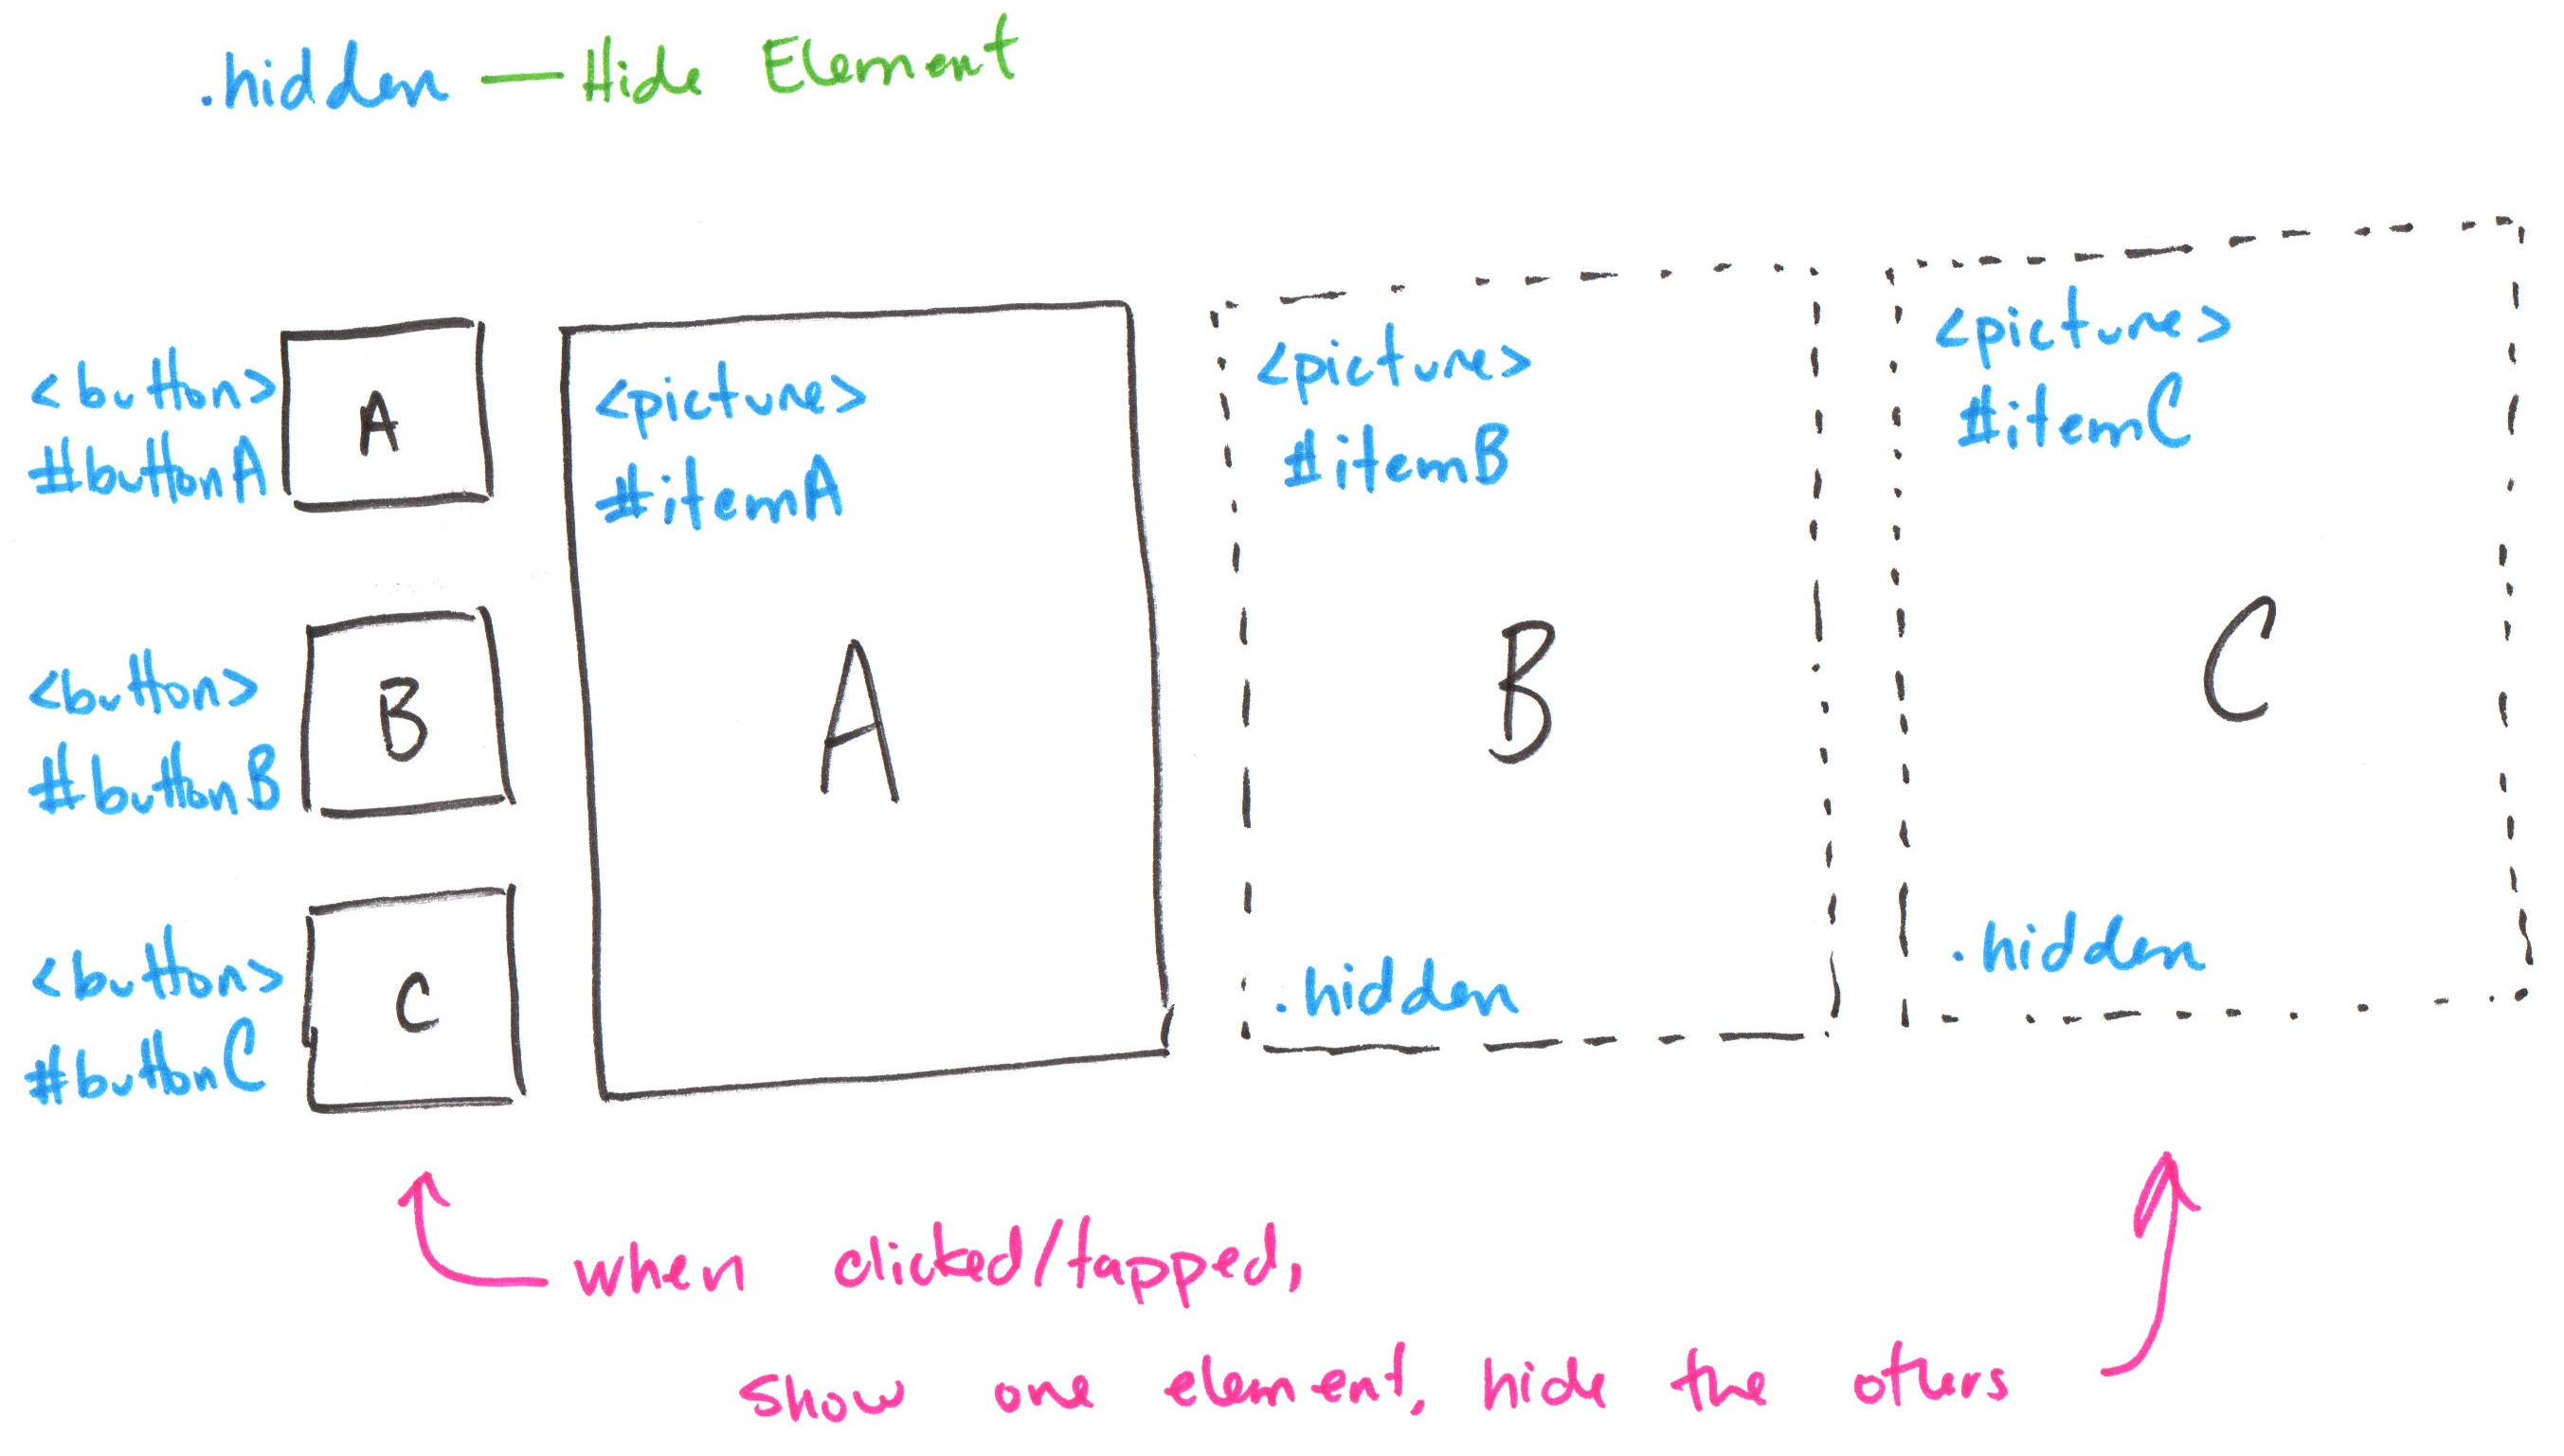
Review: Phase II – Planning
when #buttonA clicked:
  remove .hidden from #itemA
  add .hidden to #itemB
  add .hidden to #itemC

when #buttonB clicked:
  add .hidden to #itemA
  remove .hidden from #itemB
  add .hidden to #itemC

when #buttonC clicked:
  add .hidden to #itemA
  add .hidden to #itemB
  remove .hidden from #itemC
Review: Cookie Banner Planning
- Interactivity and non-interactivity HTML + CSS.
- Initial/default page state using only CSS classes.
- Listen for user events in JavaScript.
- Respond to events by adding/removing CSS classes.
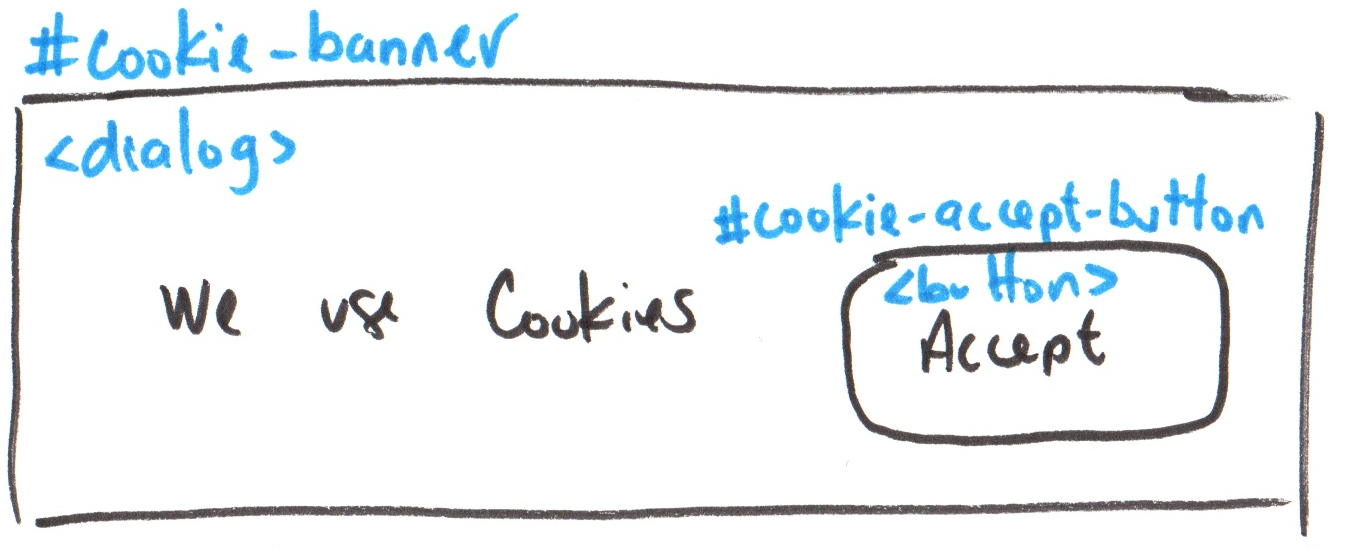
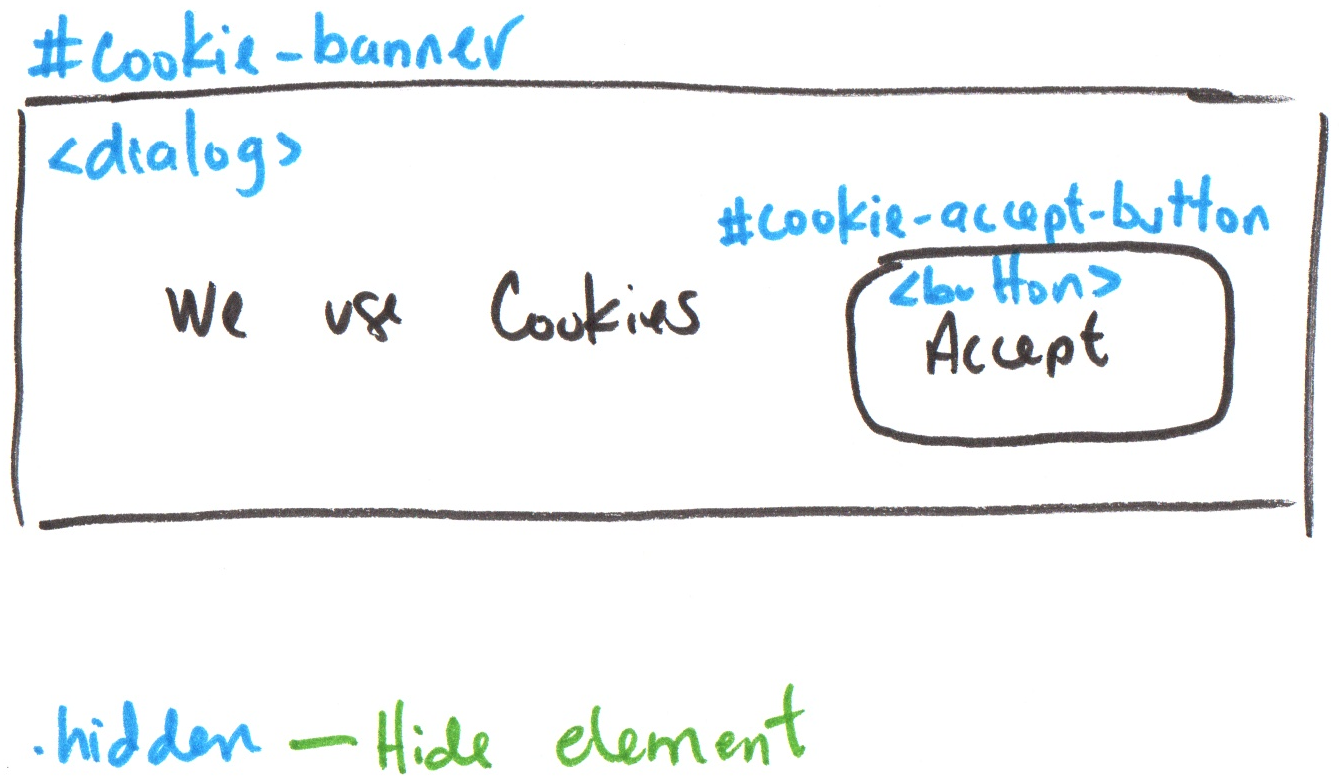
.hidden { /* hide element */ }
when #cookie-accept-button clicked:
    add .hidden to #cookie-banner
Plan ➜ Implementation
Implement Static Interactivity
Phase I
- Plan, then code all interactivity and non-interactivity HTML + CSS.
- Plan, then code initial/default page state using only CSS classes.
Phase II
- Plan, then code listening for user events in JavaScript.
- Plan, then code responding to events by adding/removing CSS classes.
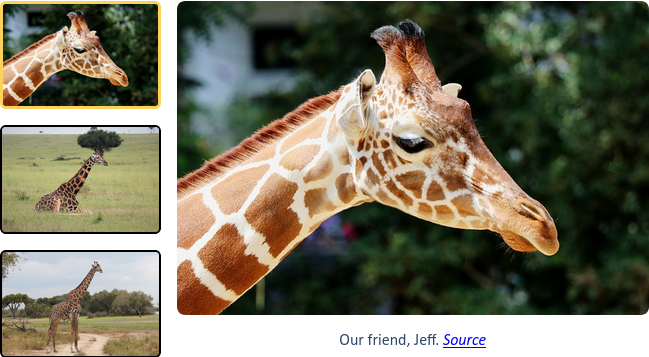
Demo: Gallery Phase I
- Plan, then code all interactivity and non-interactivity HTML + CSS.
- Plan, then code initial/default page state using only CSS classes.
Example: Gallery Phase I
Activity: Codespace Usage
Github Education benefits provide 20GB/hr per month of Codespace usage.
Every codespace you have, goes against your 20GB/hr per month limit, even if you're not actively using it.
If you don't need a particular codespace, delete it to free up your usage for other codespaces: https://github.com/codespaces
Tip: By default a codespace will auto delete after 30 days of inactivity. You can change this in your codespace settings to 14 or 7 days.
Activity: Cookie Banner Phase I
Working with a peer, complete Phase I in the activity repository:
-
Plan, then code all interactivity and non-interactivity HTML + CSS.
Hint:
positionandz-index -
Plan, then code initial/default page state using only CSS classes.
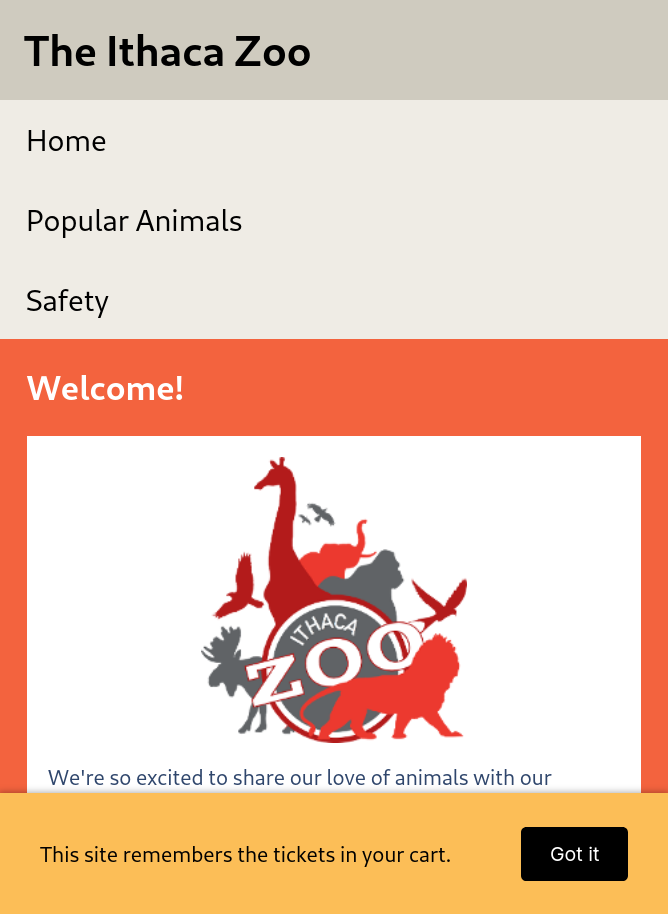
Example: Cookie Banner Phase I
Implement Static Interactivity
✅ Phase I
- Plan, then code all interactivity and non-interactivity HTML + CSS.
- Plan, then code initial/default page state using only CSS classes.
Phase II
- Plan, then code listening for user events in JavaScript.
- Plan, then code responding to events by adding/removing CSS classes.
Today – Introduction to JavaScript
for Interactivity
Next Class – JavaScript Snippets for Interactivity
Using JavaScript in a Web Page
-
Create new JavaScript file:
.js- Text file with .js extension
- Name should describe the functionality.
- Store in the
scripts/directory at root of repository Example:scripts/gallery.js
-
Load JS file in HTML as the last child of the
<body>.<script src="scripts/gallery.js"></script></body>
Enhance Browser JavaScript ➜ jQuery
jQuery: A JavaScript library designed to simplify HTML DOM tree traversal/manipulation, event handling, CSS animation, and AJAX.
    <script src="scripts/jquery-4.0.0.min.js"></script>

    <script src="scripts/gallery.js"></script>
    <script src="scripts/accordion.js"></script>
</body>
Note: Always load jquery-4.0.0.min.js before your JavaScript files!
Demo: Initialize JavaScript + jQuery
- Add
jquery-4.0.0.min.jstoscriptsfolder. - Add
<script>element for jQuery. - Create new JavaScript file(s).
- Add
<script>element(s) for your script(s) after jQuery.
Activity: Initialize Cookie Banner JavaScript
Working with a peer, initialize the cookie banner JavaScript in your codespace.
-
Add
<script>element for jQuery.<script src="scripts/jquery-4.0.0.min.js"></script></body> -
Create new JavaScript file(s).
- Name should describe the functionality.
- Store in the
scripts/directory at root of repository
-
Add
<script>element(s) for your script(s) after jQuery.
Example: Initialize Cookie Banner JavaScript
New Files:
scripts/cookie-banner.js
Load JavaScript:
  <script src="scripts/jquery-4.0.0.min.js"></script>
  <script src="scripts/cookie-banner.js"></script>
</body>
Phase II: Coding the Plan in JavaScript + jQuery
From Pseudocode to JavaScript + jQuery:
- Add events to elements in JavaScript.
- Add/Remove classes from elements in JavaScript.
when #buttonA clicked:
  remove .hidden from #itemA
  add .hidden to #itemB
  add .hidden to #itemC

when #buttonB clicked:
  add .hidden to #itemA
  remove .hidden from #itemB
  add .hidden to #itemC

when #buttonC clicked:
  add .hidden to #itemA
  add .hidden to #itemB
  remove .hidden from #itemC
Accessing Elements in JavaScript and jQuery
Find element with ID:
$("#ELEMENT_ID")
Example:
$("#buttonA")
when #buttonA clicked:
  remove .hidden from #itemA
  add .hidden to #itemB
  add .hidden to #itemC

when #buttonB clicked:
  add .hidden to #itemA
  remove .hidden from #itemB
  add .hidden to #itemC

when #buttonC clicked:
  add .hidden to #itemA
  add .hidden to #itemB
  remove .hidden from #itemC
Gotcha: $("") Takes Any CSS Selector
One Element at a Time:
$("#itemA")
$("#itemB")
$("#itemC")
CSS Selector List:
$("#itemA, #itemB, #itemC")
Class Selector:
$(".gallery-item")
<button id="buttonA" class="thumbnail-btn">
  A
</button>
<button id="buttonB" class="thumbnail-btn">
  B
</button>
<button id="buttonC" class="thumbnail-btn">
  C
</button>

<picture id="itemA" class="gallery-item">
  <img src="images/gallery-a.png" alt="Gallery A">
</picture>
<picture id="itemB" class="gallery-item">
  <img src="images/gallery-b.png" alt="Gallery B">
</picture>
<picture id="itemC" class="gallery-item">
  <img src="images/gallery-c.png" alt="Gallery C">
</picture>
Listening/Responding to Events on an Element
When Element Clicked/Tapped:
$("TODO: CSS Selector").on("click", function() {
  /* TODO: JavaScript+jQuery code to
           respond to "click" event */
});
Example:
$("#buttonB").on("click", function() {
  /* TODO: show one element, hide the others */
});
when #buttonA clicked:
  remove .hidden from #itemA
  add .hidden to #itemB
  add .hidden to #itemC

when #buttonB clicked:
  add .hidden to #itemA
  remove .hidden from #itemB
  add .hidden to #itemC

when #buttonC clicked:
  add .hidden to #itemA
  add .hidden to #itemB
  remove .hidden from #itemC
Adding/Removing CSS Classes on an Element
Add a CSS Class:
$("TODO: selector").addClass("TODO: class name");
Remove a CSS Class:
$("TODO: selector").removeClass("TODO: class name");
Example:
$("#itemA").addClass("hidden");
$("#itemB").removeClass("hidden");
$("#itemC").addClass("hidden");
when #buttonA clicked:
  remove .hidden from #itemA
  add .hidden to #itemB
  add .hidden to #itemC

when #buttonB clicked:
  add .hidden to #itemA
  remove .hidden from #itemB
  add .hidden to #itemC

when #buttonC clicked:
  add .hidden to #itemA
  add .hidden to #itemB
  remove .hidden from #itemC
Example: Gallery JavaScript+jQuery
Pseudocode Plan
when #buttonB clicked:
  add .hidden to #itemA
  remove .hidden from #itemB
  add .hidden to #itemC
JavaScript Code
$("#buttonB").on("click", function() {
  $("#itemA").addClass("hidden");
  $("#itemB").removeClass("hidden");
  $("#itemC").addClass("hidden");
});
Alternative Solution:
$("#buttonB").on("click", function() {
  $(".gallery-item").addClass("hidden");
  $("#itemB").removeClass("hidden");
});
Gotcha: Class Selector $\neq$ Class Name
Class Name
Observe there is no . before the class name:
$("#itemA").addClass("hidden");
$("#itemB").removeClass("hidden");
$("#itemC").addClass("hidden");
$(".gallery-item").addClass("hidden");
$("#itemB").removeClass("hidden");
Demo: JavaScript Interactivity
Activity: Pseudocode ➜ JavaScript
Work with a peer. On your handout, write the JavaScript+jQuery for the cookie banner's interactivity:
when #cookie-accept-button clicked:
  add .hidden to #cookie-banner
Example: Cookie Banner Phase II
$("#cookie-accept-button").on("click", function() {
  $("#cookie-banner").addClass("hidden");
});
Implement Static Interactivity
✅ Phase I
- Plan, then code all interactivity and non-interactivity HTML + CSS.
- Plan, then code initial/default page state using only CSS classes.
✅ Phase II
- Plan, then code listening for user events in JavaScript.
- Plan, then code responding to events by adding/removing CSS classes.
What's Next
Friday: Milestone 3 Peer Review
Monday: Milestone 3 Due Monday: Homework 8 Assigned
Next Friday: Homework 8 Office Hours Next Monday: Homework 8 Due Next Friday: Final Milestone Assigned